Learn the art of cooking delicious and tender chicken breasts on the stovetop with this simple and foolproof method. Whether you’re a seasoned cook or a beginner in the kitchen, this technique will help you create a quick and healthy dinner that pairs perfectly with your favorite sides.
Chicken is a staple in many households, but it’s easy for it to become dry and flavorless. That’s why I’m sharing my secret stovetop pan sear technique that adds a burst of flavor to the chicken while ensuring it stays moist and tender. The key to success lies in proper heat management.
Chicken Selection
For this recipe, I recommend using boneless, skinless chicken breasts that are between 6 to 10 ounces. If the tenderloins are still attached, remove them and save them for another dish, like homemade chicken tenders that the kids will adore. Anything over 8 ounces may end up being too wide after flattening, so you might need to cook in two batches.
Flatten the Pieces
Chicken breasts can be a challenge to cook evenly due to their shape. To ensure even cooking, flatten the thicker end of the breast using a meat mallet or rolling pin. Aim for a thickness of about ½ to ¾ inch. Another option is to slice the chicken in half horizontally to create two fillets out of one piece, especially if the meat is very thick.
The Seasoning Blend
When it comes to seasoning, less is more. I recommend using dried seasonings like salt, black pepper, garlic powder, and herbs. Feel free to use what you have available in your spice cabinet. Don’t overthink it! If desired, you can keep it simple with just salt and pepper. Remember, the cooking process will enhance the flavors of the chicken.
For an earthy taste and a deep golden hue, I like to incorporate paprika into my seasoning blend. You can use sweet, smoked, or spicy paprika for an interesting twist. Just be cautious not to burn the spice by keeping the heat too high. If you prefer a deeper golden brown color, omit the paprika. Cook the first side on medium-high heat, then reduce to medium when flipping over.

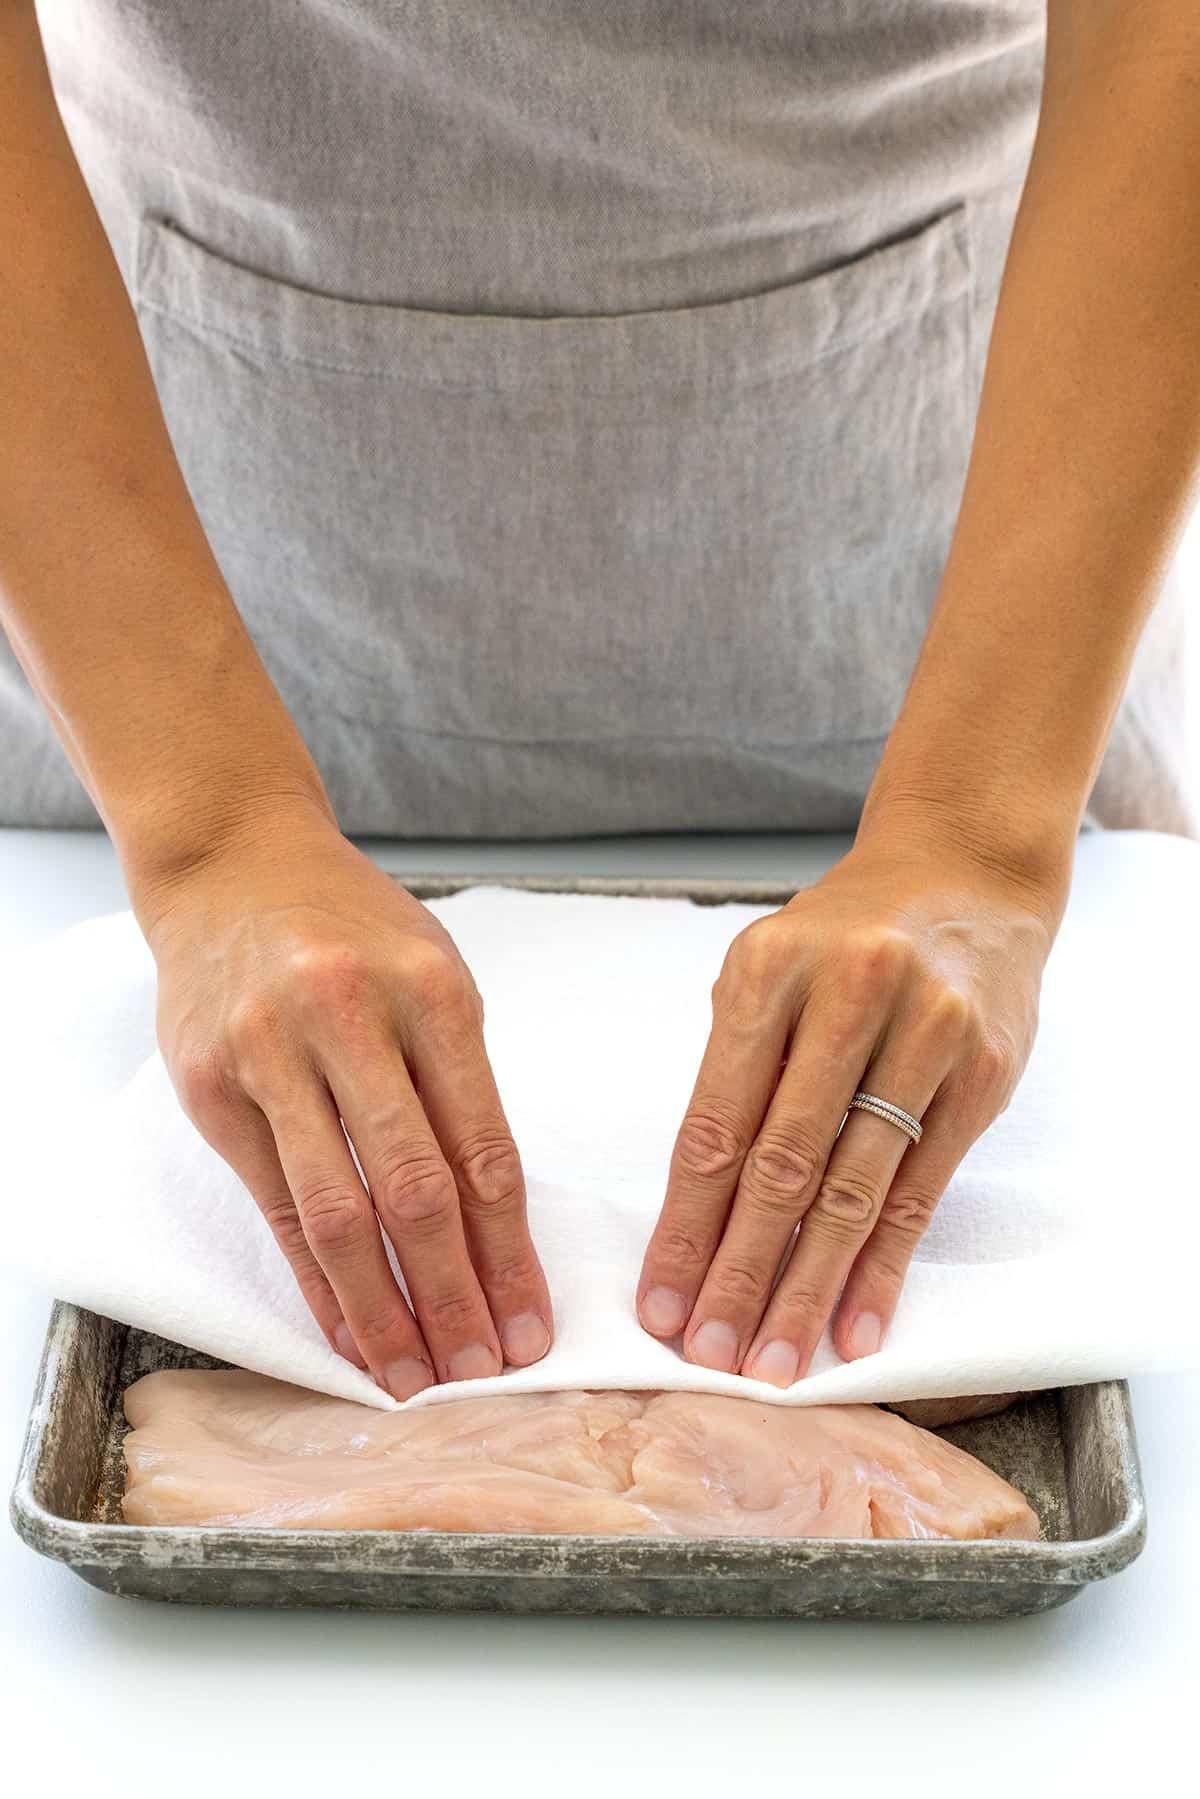
Dry the surface

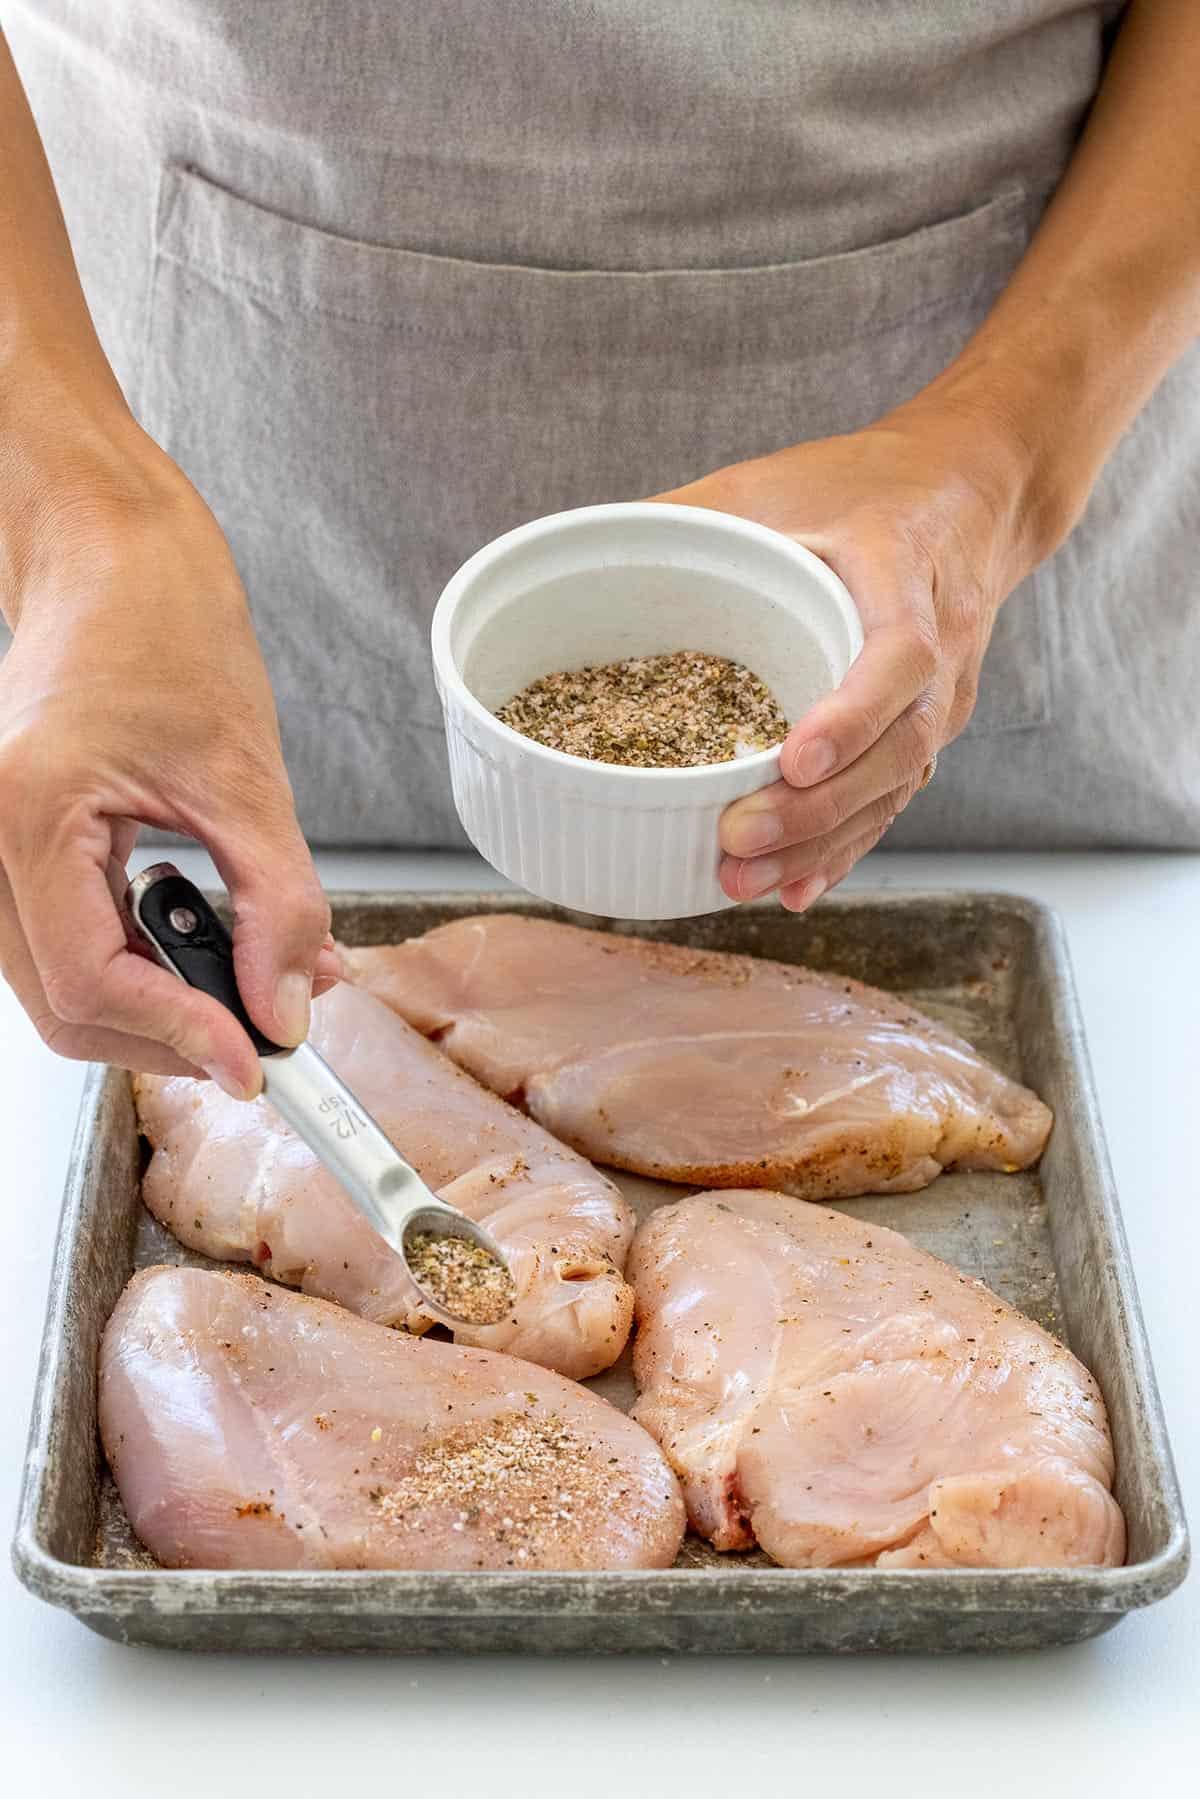
Apply the seasoning
Prepare the Chicken
After flattening the chicken, make sure to dry both sides with paper towels. This step removes any excess moisture that could cause the chicken to steam instead of achieving a beautiful golden-brown crust. We want to kickstart the flavor and color development in the pan. Sprinkle the seasoning blend evenly, about ½ teaspoon per side. If the chicken becomes too moist due to the salt drawing out moisture, blot it with a paper towel before adding it to the pan.
Pan Selection
To create a delicious golden-brown crust, I recommend using a cast iron skillet or stainless steel pan. Preheat the pan and heat the oil before adding the chicken. This ensures a better non-stick surface. If you’re more comfortable using a nonstick pan, that works too since we are using moderate heat.
The Pan Sear Method
The best oils to use for stovetop chicken breasts are olive oil for a slightly fruity taste or avocado oil for its high smoke point and neutral flavor. Make sure the oil is hot but not smoky. Once the chicken goes into the pan, press it down gently for better surface contact and then resist the urge to move it around. Let it sear!
The preheated fat and moderate heat will drive off any excess moisture from the meat, allowing the Maillard browning reaction to take place. This reaction produces hundreds of new flavors and a beautiful golden color that enhances the taste. Keep a close eye on the color change, as it will be your cue to flip the chicken over.
Add Butter for More Flavor
While optional, adding butter is highly recommended. After flipping the chicken, add a tablespoon of butter to the pan. Let it melt and baste the chicken with it. This will ensure that the surface stays moist and prevent the meat from drying out. For an additional burst of flavor, throw in some sprigs of rosemary or thyme to infuse the dish with fresh herb aromatics.
As the butter browns, it will add more color and a nutty flavor that beautifully coats the meat. It’s absolutely delicious! I prefer adding the butter after the initial sear to avoid any interference with the browning process or risk of burning. This step is optional, but it truly elevates the flavor profile of the dish.
Checking for Doneness
To ensure the chicken is fully cooked, the surface should be golden brown and the meat should be completely opaque throughout. It’s okay if the juices run slightly pink, as long as the chicken is not raw in the center. Use an instant-read thermometer to check the internal temperature of the thickest part of the breast. Insert the thermometer parallel to the meat for the most accurate reading. The temperature should be between 160 to 165ºF (71 to 74ºC).
Rest, Then Slice
After cooking, allow the chicken to rest for about 5 minutes before slicing. This resting time allows the flavorful juices to redistribute into the muscle fibers, resulting in a moist and flavorful chicken breast. By letting it rest, you ensure that the juices stay within the meat instead of running out onto the cutting board.
Serve this With
Get creative and serve your perfectly cooked chicken with a variety of sides. Here are some delicious options to consider:
- Homemade barbecue sauce
- Mashed potatoes
- Crispy roasted potatoes
- Sauteed green beans
- Steamed rice
- Couscous salad
- Sauteed mushrooms
- Roasted zucchini
Frequently Asked Questions
-
Can I use bone-in chicken breasts instead of boneless?
Absolutely! However, cooking times may vary, so be sure to adjust accordingly. -
Can I use chicken thighs with this method?
Definitely! Chicken thighs work wonderfully with this technique. Just keep in mind that the cooking time may be slightly different. -
How can I make the chicken more flavorful?
Experiment with different seasoning blends or marinades to suit your taste preferences. You can also try adding fresh citrus zest or a splash of lemon juice for a bright and tangy flavor. -
Can I use this method on the grill?
Absolutely! This pan sear technique can be adapted for outdoor grilling. Just make sure to adjust the cooking time and temperature accordingly.
Now that you’ve mastered the art of cooking chicken breasts on the stovetop, the possibilities are endless. Get creative with your culinary creations, whether it’s entrees, salads, soups, or casseroles. Remember to enjoy the process, have fun experimenting, and savor every delicious bite.
For more cooking inspiration, visit Ekilove.


