This chicken breast bakes in the toaster oven and comes out juicy and flavorful. The recipe includes my top tips for perfectly cooked, moist and juicy chicken.
Be sure to check out more of my toaster oven recipes including my crispy toaster oven chicken wings, 14 minute Toaster Oven Garlic Bread, easy toaster oven chicken drumsticks with a savory spice rub and for dessert, my one bowl toaster oven funfetti cake that is perfect for a celebration.
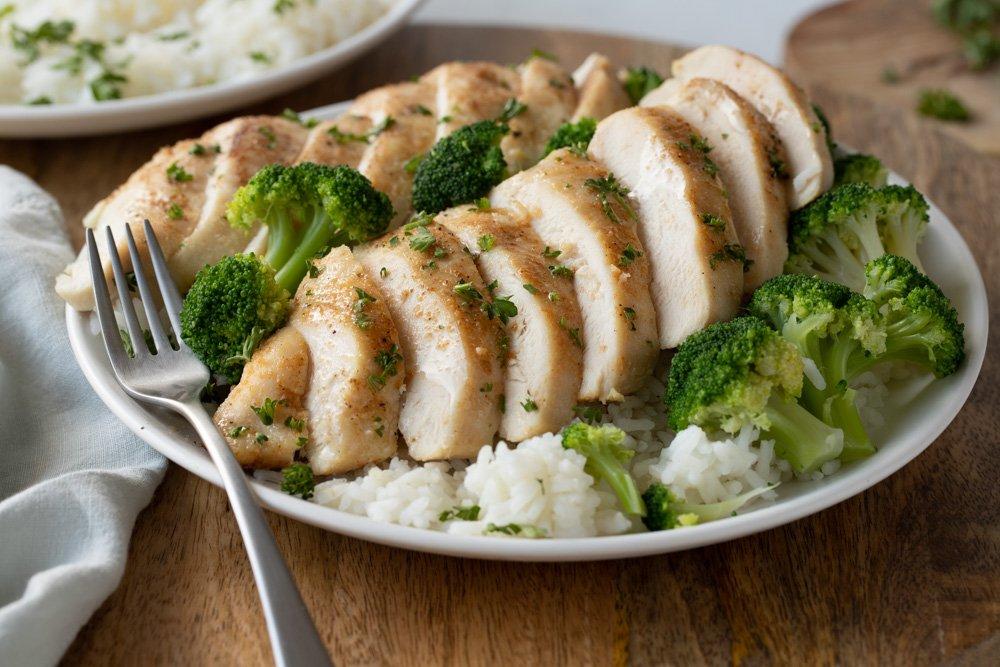
Chicken in the Toaster Oven
Boneless skinless chicken can dry out very quickly. A medium temperature or 350°F will allow the inside to cook without drying the outside.
With a baking temp of 350°F, the chicken will not brown very much. Here are a few options to make it look delicious:
- Bake the chicken top side down for some browning.
- Once baked, brush the pan juices on the chicken.
- Top with a simple sauce or glaze (see below for suggestions).
- You could turn on the broiler for the last few minutes of cook time, but the high heat could dry out the chicken.
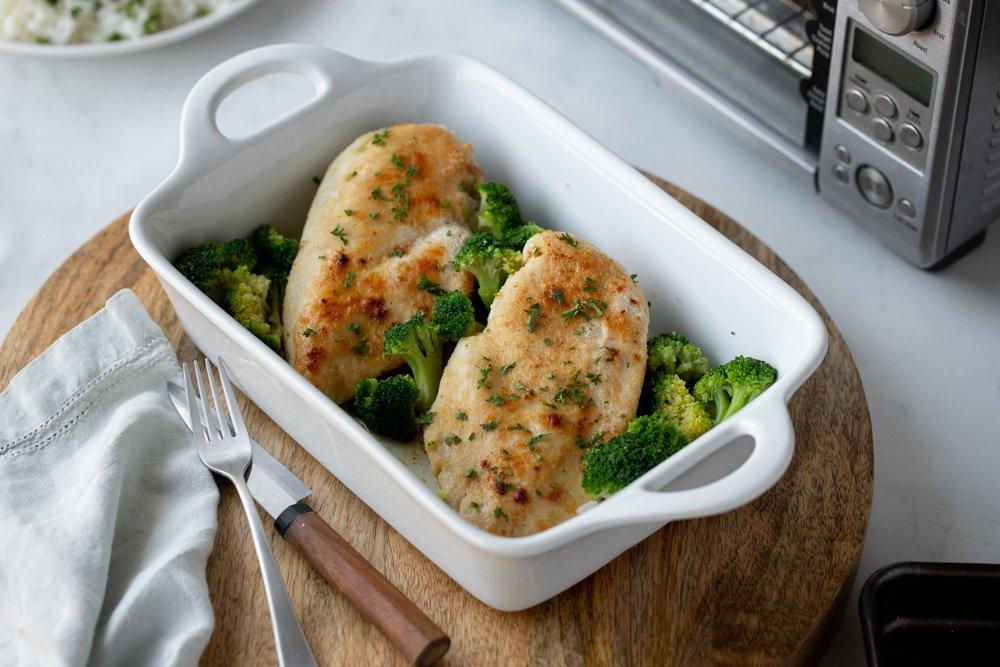
Baking Time for Chicken Breast
Cooking it just enough is the key to moist chicken. It is safe to eat at internal temperature 165°F, so if you cook it to a much higher temp, it will be dry. Unfortunately there are so many factors that affect cook time, including:
- weight and thickness of the chicken breast
- the internal temperature of the chicken at the time it goes into the oven
- the color and weight of the pan you use
- the accuracy of your oven temperature
This makes giving you an exact cook time difficult. The recipe card below gives recommended times but follow the steps below, and you’ll have perfectly cooked chicken.
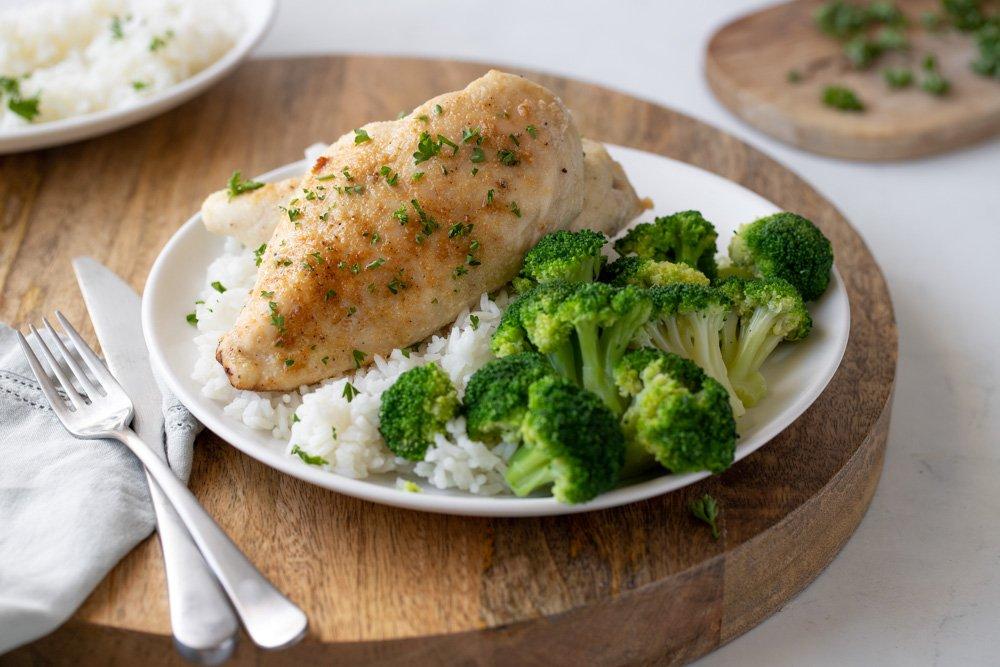
“How to” Tips for Juicy Chicken
Here are my top tips for juicy baked chicken.
TIP #1
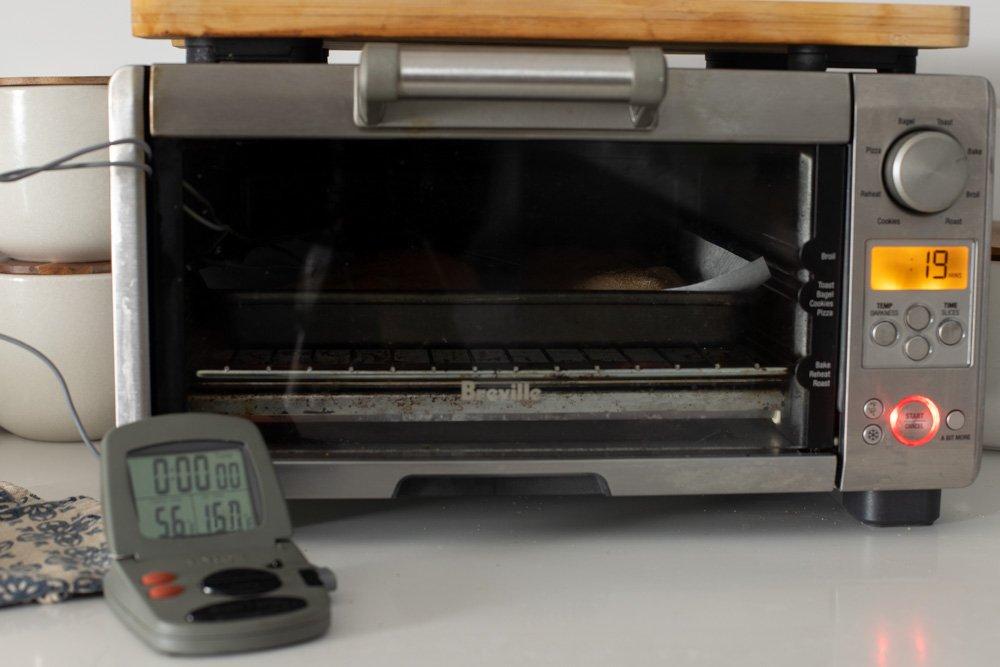
My number one tip for juicy chicken is to use a meat thermometer with a probe. It’s impossible to know exactly when thickest part of the chicken is cooked unless you use a thermometer.
This Taylor thermometer allows you to place the wired probe in the chicken before putting it in the oven. The probe needs to be placed into the center of the chicken breast at its thickest part. The probe stays in the chicken during baking and the read out device sits outside on the counter. This allows you to see the exact temp as it cooks.
You can also set the target temperature and the device will beep when it’s ready. This feature allows you to multi-task without worrying about watching the thermometer.
I do not recommend a thermometer that cannot stay in during cooking. Poking a thermometer in and out during cooking will release moisture resulting in dry meat.
TIP #2
Chicken and other meats do not need to stay in the oven until they reach their safe temperature. Meats will continue to rise in temperature (on the inside) for several minutes after you take them out. This is called carry-over cooking. So if you take chicken out of the oven when the thickest part reaches 165°F, it will become over-cooked.
The size and weight of the meat will determine how much the temperature will rise once out. The smaller the piece, the less the temp will rise once out of the oven. An 8 oz. chicken breast can come out of the oven at 162°F. Leave the temp probe in, cover loosely with foil and watch the temp rise.
TIP #3
Finally, let your chicken rest (with the temperature probe in it). Even if it has reached 165,° wait. If you cut into it right away, all of the juices will come spilling out, leaving the perfectly cooked chicken, dry. I try to wait about 10 minutes. The chicken is still warm and the texture is superior.
Chicken breasts vary drastically in weight and thickness so cooking time will vary too. In a single max pack of chicken breasts, the pieces ranged from 9-14 ounces each! I tested this recipe with several different sizes and provide recommendations for cook times. This is a general guide – go by the temp on the thermometer for best results.
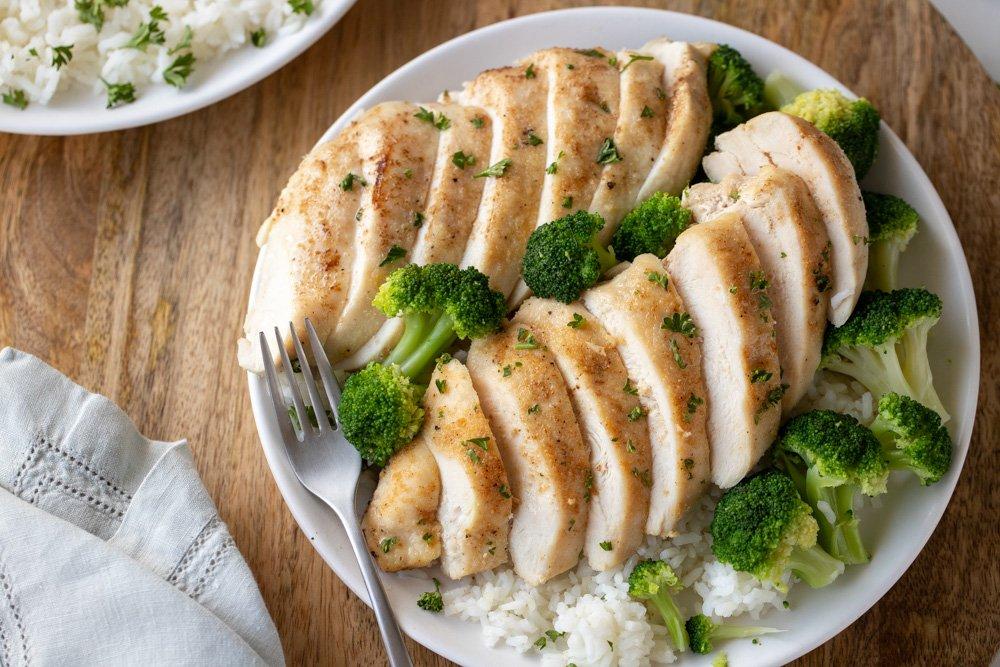
Ingredients
The recipe calls for about 1 pound of boneless skinless chicken breasts. They should not be thin cut. Chicken breasts vary in weight from 5-14 ounces. So you will likely have 2 or 3 pieces.
Extra virgin olive oil adds flavor to chicken breasts which have very little fat (which means less flavor). The oil also helps with browning.
Salt is also so important to flavor. You’ll sprinkle on the salt before the spice mix to be sure the chicken is coated with salt on the top and bottom. If you run out of salt, don’t be afraid to use more than the amount in the recipe.
Garlic powder and onion powder (aka granulated garlic and onion) add flavor but make this chicken so versatile. It can go Italian, Asian, Latin and so much more. See below for some quick and easy sauce suggestions.
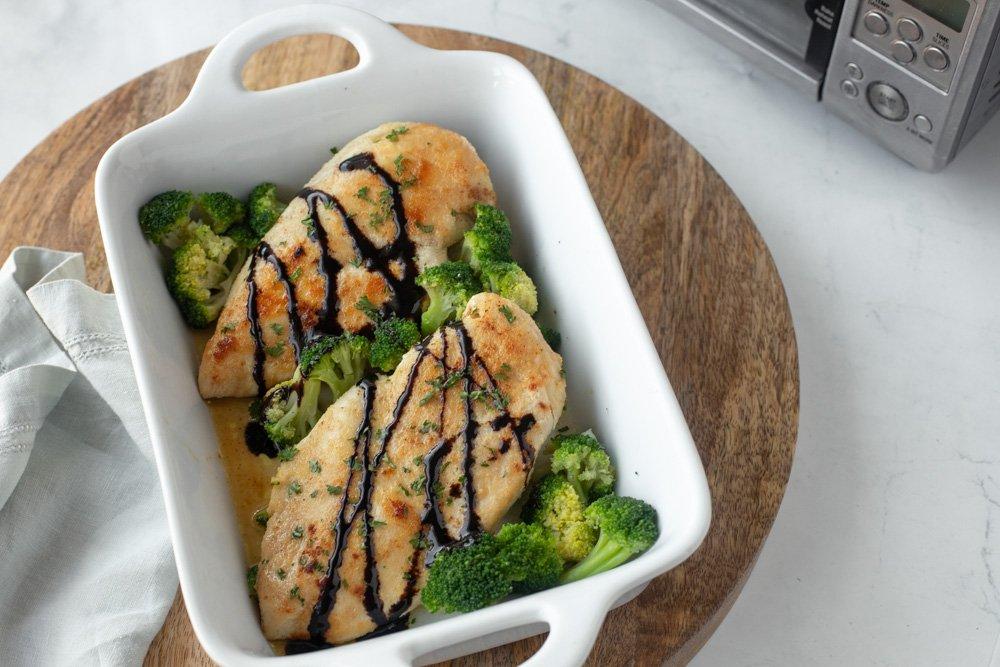
Sauces for Chicken Breast
I have several super easy, quick sauces that would dress up this chicken perfectly.
- This creamy sesame dressing doubles as a sauce and is ready in 5 minutes.
- My no-tomato, low acid pasta sauce has all the flavors of a traditional marinara sauce.
- Or brush on this sesame teryaki sauce for the last couple of minutes of cook time.
- My raspberry balsamic glaze or any prepared balsamic glaze makes for a super easy topping.


