Have you ever wondered what beauty product or tool you couldn’t live without? For me, it’s always been an eyelash curler. The power of long, healthy, and beautifully curled lashes is undeniable. They instantly open up the eyes and give your face an overall lift. That’s why I was intrigued when my sister asked me to try an at-home lash lift using the Diablo Lash Lift Kit.
The Perfect Starter Bundle for Professional Results
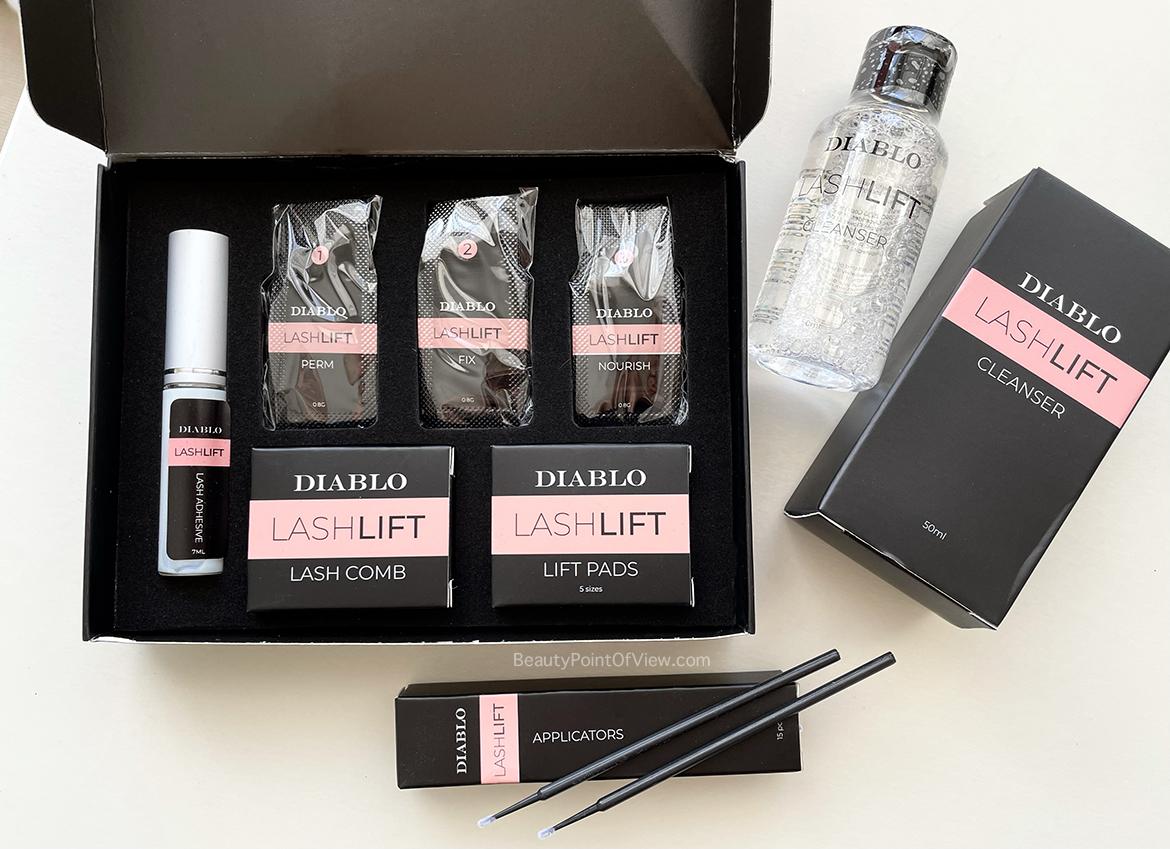
The Diablo Cosmetics Lash Lift Starter Bundle is the ultimate kit for achieving professional results from the comfort of your own home. With 5 applications per kit, you can enjoy lifted lashes for up to 10 months. The bundle includes everything you need, from perming and fixing lotions to adhesive, cleanser, lift pads in various sizes, and applicators. If you’re new to lash lifts, don’t worry! Diablo Cosmetics provides detailed instructions and video tutorials on their website.
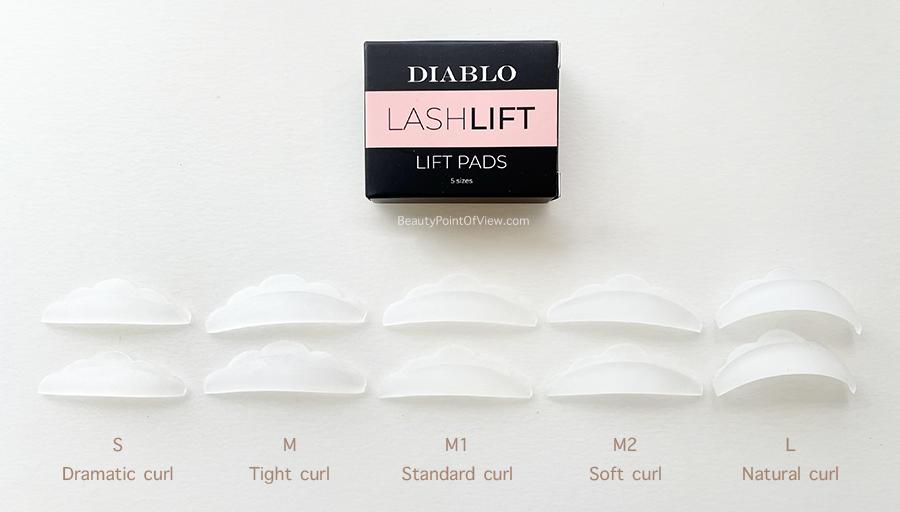
Choosing the Right Lift Pad Size
Before you start, it’s important to select the right lift pad size. The kit offers 5 different sizes, each producing a different curl intensity. For our first try, my sister and I opted for a medium-sized pad for a soft and natural curl. However, for a more intense and upright curl, we recommend using a small-sized pad. It’s all about finding the perfect fit for your desired look.
The Step-by-Step Process
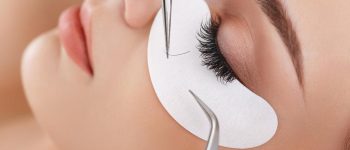
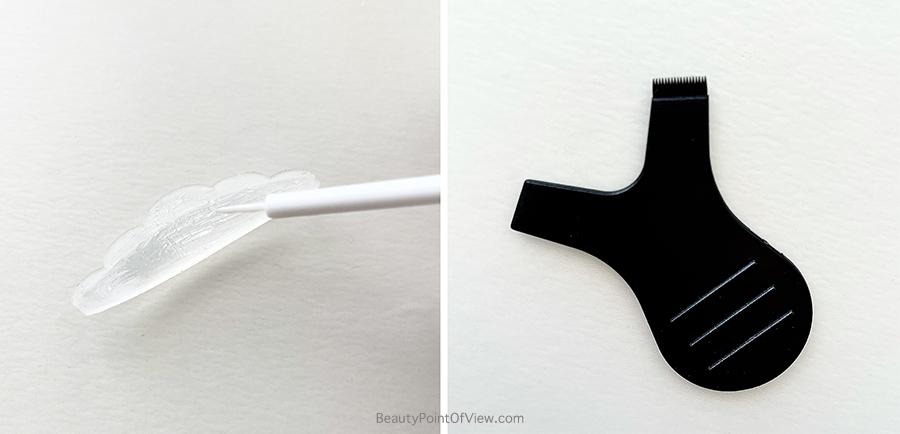
To ensure a smooth application process, I organized all the necessary items on a tray in the order of use. Before starting, we thoroughly cleaned and dried my sister’s lashes to remove any trace of mascara or product residue. Then, it was time to apply the adhesive to the lift pad and stick it as close to the lash line as possible. Remember to let the adhesive get tacky for optimal results.
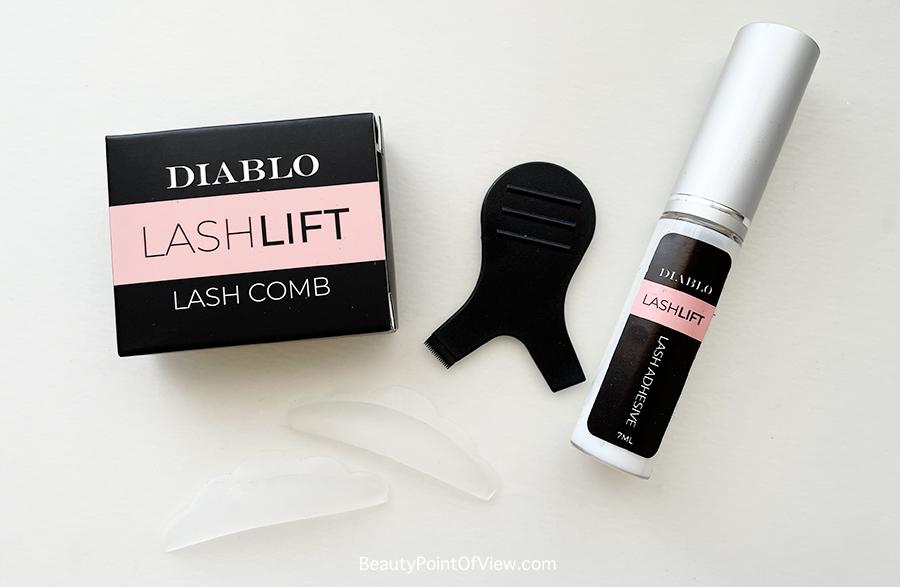
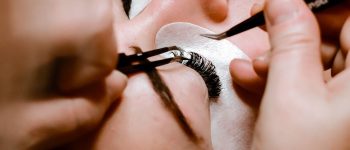
Next, I used the little black comb to brush the lashes up against the lift pads. This step is crucial for achieving the desired curl, so take your time and be gentle. You can brush the lashes straight up for a classic look or slightly skewed towards the outer corners for a more cat-eye effect. Once the lashes are positioned, it’s time to apply the lotions that come in the kit.
The first solution, Lift, is applied at the base of the lashes using the sponge tip applicators. Be careful not to apply it too far up, as it can affect the effectiveness of the adhesive. Cover the eye with cling wrap and let it sit for 3-5 minutes. After that, wipe off the Lift solution from the lashes and repeat the same steps with the Fix solution. Finally, use the included cleanser to remove the lash glue and apply the nourishing lotion to keep the lashes hydrated.

Long-Lasting Results and Future Improvements
It’s been two weeks since we did my sister’s lash lift, and the results are still impressive. The curl has softened up slightly, but a tighter curl with a small-sized pad and a longer application time will provide more longevity. Based on our experience, we have a few pointers for you:
- Prepare all the items on a tray in the order of use for easy access.
- Experiment with different lift pad sizes to achieve your desired curl intensity.
- Use both the tooth and flat side of the comb for better lash placement and security.
- Adjust the application time of the solutions based on your lash thickness and texture.

Try the Diablo Lash Lift Kit Today!
If you’ve been considering trying an at-home lash lift, the Diablo Lash Lift System is an excellent choice. The process may seem daunting at first, but it’s surprisingly simple and rewarding. Plus, you’ll save time and money compared to salon visits. Remember to tag me on social media or leave a comment if you decide to give it a try. I’m here to answer any questions you may have.
Shop the Diablo Cosmetics Lash Lift Kits here.


